Project 4: Rube Goldberg Machine, 4/6
In this project I explored procedural animation techniques in Maya by creating a Rube Goldberg machine with lots of connected parts.


Storyboard:

I intended originally to use Bifröst add-on to animate a splash of water as the animation's finale. However, the particle simulation proved to be more than my poor computer could handle.
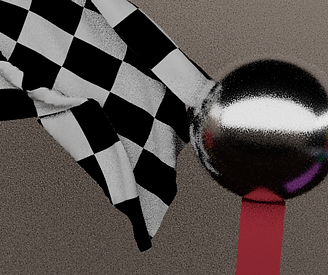
Object 1: chrome balls
I wanted to show off Arnold's rendering abilities with something shiny, so I created chrome balls using a metallic Arnold shader.

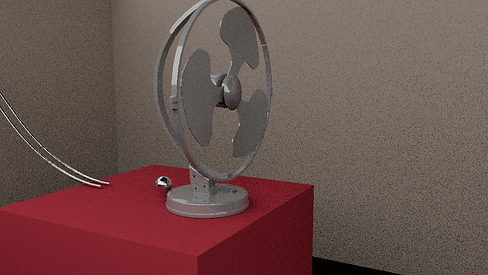
Object 2: fan
The first chrome ball activates a fan (whose model I found here, by cgtrader user manju97731), which begins a wind effect in the machine.
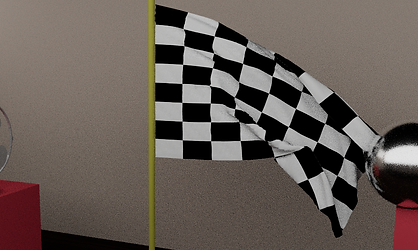
Object 3: flag
The next step in the machine is a flag (a plane with an ncloth attribute, constrained at its leftmost points), which is unfurls in the wind (an air field) to move the process along. Since the ncloth procedural animation moves very slowly, the cache feature was helpful to speed my workflow up.
Object 4: see-saw
I created a see-saw object using a hinge constraint. The downward force of one of the balls propels a box into the air.

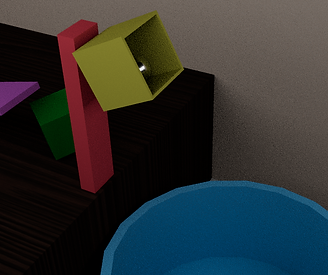
Object 5: boxes
I used two boxes that move around as active bodies. One of them (surprise!) contains two more chrome balls, which fall out at the animation's conclusion.

Final Animation:
This animation was rendered (painstakingly, with love) using Arnold.
Comments:
Working with dynamics in Maya was a huge strain on my computer. One helpful step I took was to bake the simulations into keyframes for all of my moving objects. Not only did it give me predictable movements of my objects, but it saved my computer from unneeded work.
I really wanted to use this project to become familiar with Arnold as a renderer and get easy access to soft shadows and very reflective surfaces. Unfortunately, it also required a lot of my computer. I ended up having to lower the sample rate and the overall resolution of the render to 720p to speed up rendering and limit Maya crashing my computer.